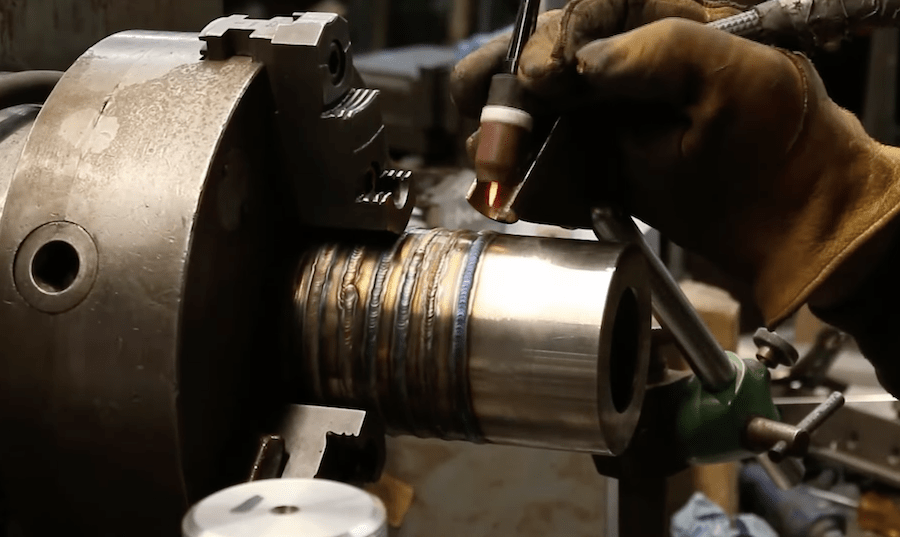
Welding is a skill that takes years to perfect, and yet consistently placing a TIG welder in exactly the right spot many times over is nearly impossible. To assist with this process, a few of element14 Presents host Kaleb Clark and his company’s clients had constructed two rigs using PLCs but needed another solution after losing the accompanying laptop.
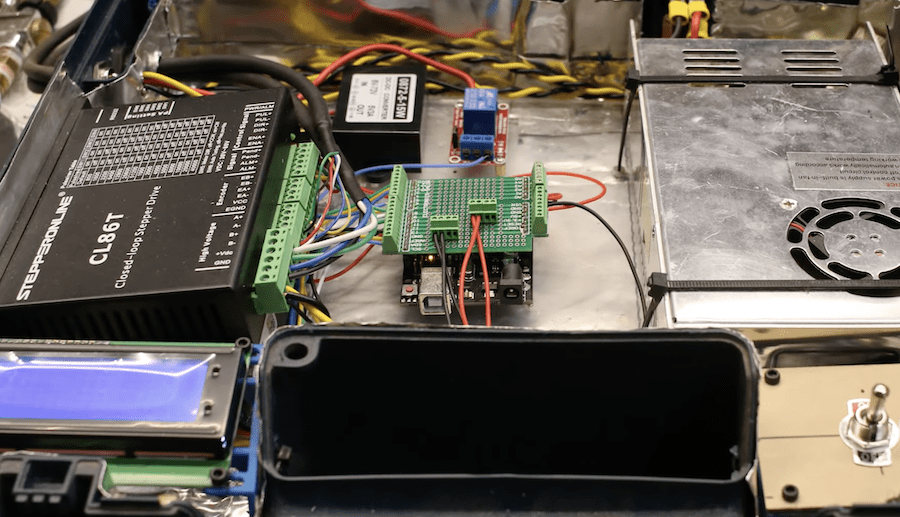
The first device was a repurposed lathe that was driven by a stepper motor and gearbox assembly. Clark was able to retrofit the circuit by connecting an LCD display, rotary encoder, and a motor driver to an Arduino Uno. He also attached an optically-isolated relay for controlling when the welder should activate to begin welding the part, as well as two switches for toggling the welder’s output on or off. All of these components were then placed into a briefcase lined with foil to prevent outside interference from the TIG welder.

The second and more complicated device was a linear gantry that moves the end of a TIG welder just above the edges of the material and fires at specific intervals. The electronics for this project were nearly identical with the exception of the toggle switches being replaced by a set of three large buttons. New settings could be sent from a webpage over Wi-Fi to an ESP8266 board and forwarded via serial to the Arduino. However, the buttons ended up being removed due to excess electrical interference.
To see more about Clark’s project, you can watch its video below.
The post Automating precise welds with an Arduino appeared first on Arduino Blog.
No comments:
Post a Comment