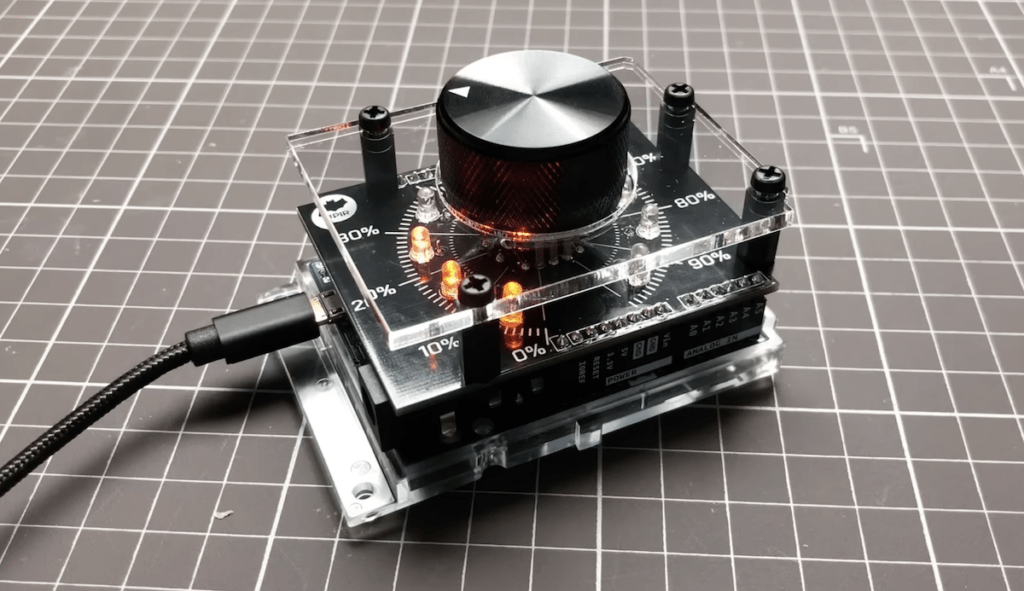
The beauty of Arduino development boards is that they let you jump right into prototyping. Just connect the sensors, buttons, LEDs, or whatever other hardware you require to the Arduino’s I/O pins, code and flash a sketch, and you’re in business. But you might come to a stage where you want something more polished than a breadboard or perfboard. When you reach that stage, you can follow along with YouTuber Upir’s LED volume knob project to learn how to design your first PCB.
Upir chose to use an Arduino Leonardo board for this project because its ATmega32U4 microcontroller’s built-in USB HID functionality. That means that it can be configured to show up as a USB mouse or keyboard when plugged into any computer, regardless of the operating system or software that computer runs. In this case, that makes it easy to send keyboard shortcuts that adjust the computer’s volume.

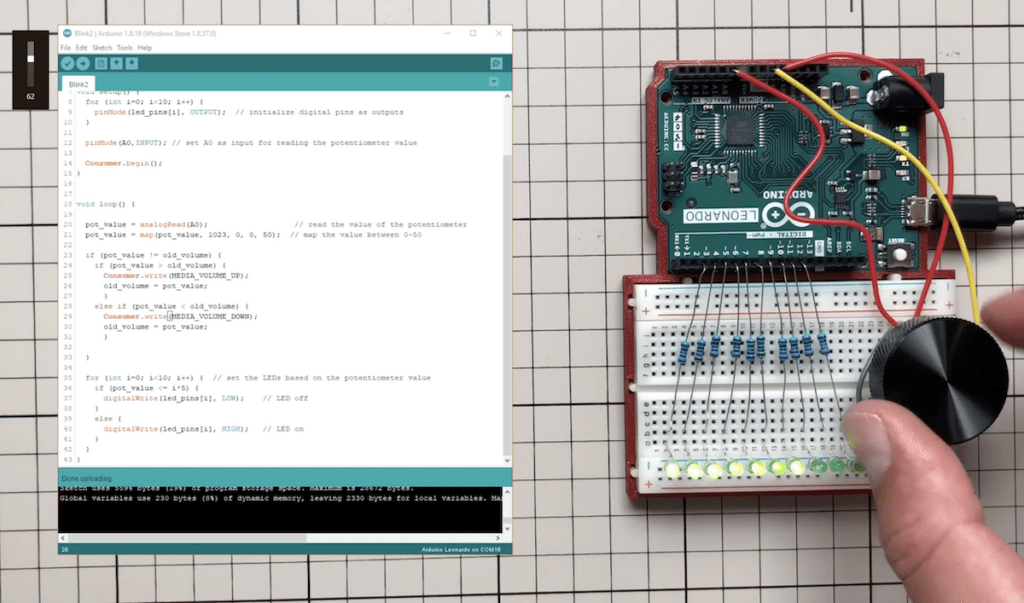
The hardware for this project, in addition to the Leonardo itself, consists of a potentiometer knob, LEDs, and resistors. The sketch sets the number of lit LEDs to correspond to the current volume level. Upir first prototyped the circuit on a breadboard to test the Sketch and functions. Then he designed a dedicated PCB shield for the Arduino. In his video below, Upir goes into detail on every step of the PCB design process in open source KiCAD software. This information is valuable to anyone interested in learning how to create their own PCBs.
If you follow Upir’s instructions, either for this project or a similar design, you’ll end up with a set of files that you can send to any PCB fabrication service to get professional-quality boards.
The post Dial up your PCB design skills with an LED volume control shield appeared first on Arduino Blog.
No comments:
Post a Comment